**Introduction: The Bezel as a Statement**
For many Rolex enthusiasts, the watch is more than a timekeeping instrument; it’s a canvas. The bezel—the ring surrounding the crystal—is one of the most visually distinctive and functionally important parts of a Rolex. Whether you’re looking to refresh a scratched ceramic insert, swap a smooth bezel for a fluted one, or upgrade from aluminum to a harder material, the question arises: **Can you change a Rolex bezel?** The short answer is yes, but the process, cost, and compatibility vary dramatically depending on the model, the type of bezel, and who performs the work. This comprehensive pillar page will guide you through every subtopic, from the types of Rolex bezels to installation methods, warranty implications, and expert recommendations.
—
**Topic Map: Navigating the Rolex Bezel Change**
To help you find exactly what you need, here is a clear outline of the subtopics we’ll cover. Each section is designed to stand alone or be read in sequence.
1. Types of Rolex Bezels – Understanding the differences between ceramic, aluminum, fluted, and smooth bezels.
2. Rolex Models That Allow Bezel Changes – A breakdown of which watches (Submariner, GMT-Master II, Daytona, etc.) are most compatible.
3. The Bezel Change Process: DIY vs. Professional – Step-by-step feasibility for changing inserts versus entire bezel assemblies.
4. Tools and Materials Needed – Essential items like bezel removal tools, press dies, and adhesive.
5. Costs of Changing a Rolex Bezel – Estimated prices for OEM parts, aftermarket options, and labor.
6. Aftermarket vs. Genuine Rolex Parts – Pros and cons, including quality, resale value, and legal considerations.
7. Warranty and Resale Value Implications – How bezel changes affect your Rolex’s factory guarantee and market worth.
8. Common Risks and Mistakes – Damage to the case, crystal, or movement.
9. Frequently Asked Questions – Quick answers to top queries about swapping bezels.
10. Internal Resources and Next Steps – Links to deeper guides on specific topics.
—
**1. Types of Rolex Bezels**
Before committing to a change, you must identify the bezel type on your watch. Rolex produces four main categories:
– **Cerachrom (Ceramic) Bezels** – Found on modern Submariners (date and no-date), GMT-Master II, and Daytona. Extremely scratch-resistant but brittle. Changing the insert is common; the entire bezel assembly is more complex.
– **Aluminum Bezels** – Used on vintage and earlier modern models (e.g., 16610 Submariner, 16710 GMT). Easily swapped, but prone to fading and scratches. Aftermarket options are plentiful.
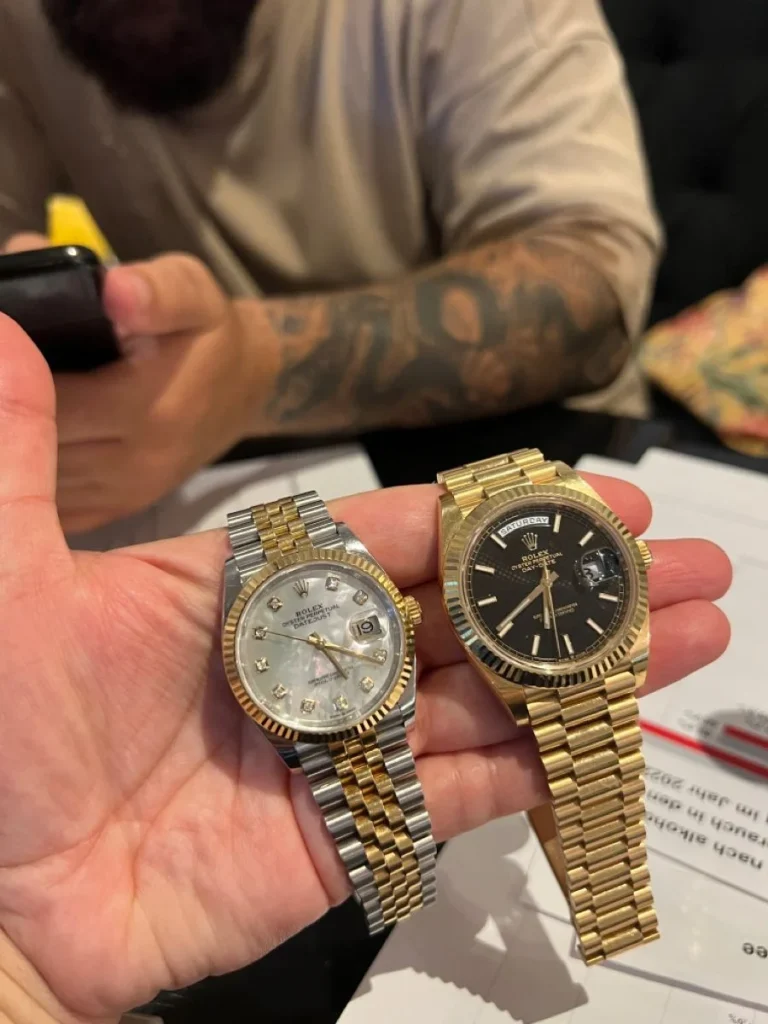
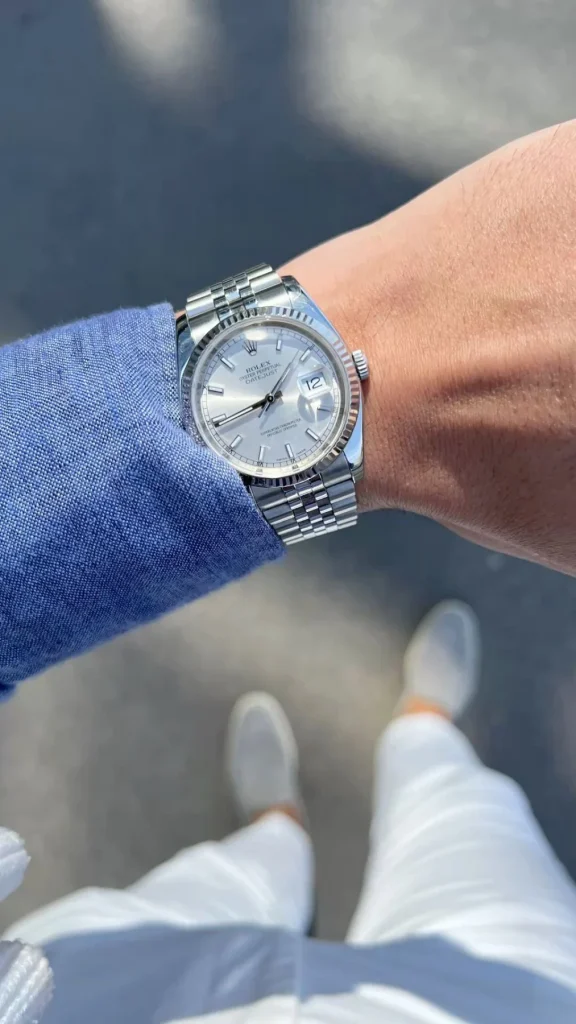
– **Fluted Bezels** – Exclusively on Datejust, Day-Date, and some Sky-Dweller models. Typically made of white gold or steel. The entire bezel unit must be replaced, not just an insert.
– **Smooth/Engine-Turned Bezels** – Found on Oyster Perpetual and some Air-King models. Usually integrated into the case design; replacement is rare and requires professional removal of the crystal.
**Internal link opportunity:** *“Learn more about the differences between Cerachrom and aluminum bezels in our dedicated guide: Rolex Bezel Materials Compared.”*
—
**2. Rolex Models That Allow Bezel Changes**
Not all Rolex watches are created equal when it comes to bezel swaps. Here’s a model-by-model breakdown:
– **Submariner (Ref. 124060, 126610)** – The bezel insert (ceramic or aluminum) is held by a wire spring. Easily replaced by a professional or experienced DIYer.
– **GMT-Master II (Ref. 126710, 16710)** – Similar to Submariner. The 24-hour bezel insert can be swapped, but the bidirectional mechanism requires care.
– **Daytona (Ref. 116500, 126500)** – The bezel ring (often Cerachrom) is glued to the case. Changing it is high-risk and best left to accredited watchmakers.
– **Datejust (Ref. 126300, 16234)** – Fluted bezels are press-fit. Swapping requires removing the crystal and bezel ring together.
– **Sea-Dweller (Ref. 126600)** – The bezel assembly is deeper than the Submariner’s. Insert changes are possible, but the entire assembly is more robust and complicated.
– **Explorer II (Ref. 216570, 226570)** – The 24-hour bezel is fixed and not meant to be user-changed. Most swaps are done by specialists.
– **Oyster Perpetual (Ref. 124300)** – No rotating bezel. The “bezel” is the smooth case ring. No practical change possible.
**Internal link opportunity:** *“Detailed instructions for swapping a GMT-Master II bezel can be found here: How to Replace a Rolex GMT Bezel Insert.”*
—
**3. The Bezel Change Process: DIY vs. Professional**
This is the critical decision point. Changing a bezel insert vs. an entire bezel assembly are two different operations.
**Changing the Insert (DIY-Friendly for Some Models):**
– **Submariner/GMT:** Remove the bezel by prying off the retaining ring or using a bezel removal tool. The insert is held by adhesive or a spring. You can pop it out with a knife or push tool.
– **Required skill level:** Low to moderate. Patience is key to avoid bending the metal.
– **Risk:** Scratching the bezel ring or breaking the fragile ceramic insert.
**Changing the Entire Bezel Assembly (Professional Only):**
– **Datejust/Day-Date fluted bezels:** The bezel is pressed onto the case and often requires removing the crystal first. The older the watch, the more likely the crystal seal will be damaged.
– **Daytona:** The bezel is glued with industrial epoxy. You must heat the bezel to break the bond.
– **Required skill level:** High. A crystal press, case holder, and specialized tools are mandatory.
– **Risk:** Cracking the crystal, damaging the movement if the case is deformed, or compromising water resistance.
**Recommendation:** For any bezel assembly change (not just insert), use a Rolex-trained watchmaker. For insert changes, consider a professional if you lack steady hands or proper tools.
**Internal link opportunity:** *“Read our step-by-step DIY guide: Tools Needed for a Rolex Bezel Insert Swap.”*
—
**4. Tools and Materials Needed**
If you choose the DIY route for an insert change, you’ll need:
– **Bezel removal tool** (e.g., Bergeon 6825 or a case knife for older models).
– **Bezel press dies** (for re-seating the bezel ring after an assembly change).
– **Rodico or adhesive** (some inserts are glued with 3M tape or epoxy).
– **Spring bar tool** (to remove the bracelet if needed for access).
– **Magnifying visor** – to see tiny scratches and alignment.
– **Protective film** – to prevent scratching the case lugs.
For assembly changes, add:
– **Crystal press** – with correct size dies.
– **Heat gun** – for Daytona glued bezels.
– **Case holder** – to stabilize the watch.
**Internal link opportunity:** *“Browse our recommended tool kit for Rolex bezel work in our Watch Repair Essentials section.”*
—
**5. Costs of Changing a Rolex Bezel**
Prices vary widely by model, part origin, and labor.
| **Type of Change** | **Cost Range (Parts)** | **Labor (Professional)** | **Total Estimated** |
| :— | :— | :— | :— |
| Submariner aluminum insert (aftermarket) | $30 – $80 | $50 – $100 | $80 – $180 |
| Submariner ceramic insert (OEM) | $200 – $600 | $100 – $200 | $300 – $800 |
| GMT-Master II insert (OEM ceramic) | $300 – $700 | $100 – $200 | $400 – $900 |
| Datejust fluted bezel (OEM white gold) | $500 – $1,500 | $150 – $400 | $650 – $1,900 |
| Daytona bezel ring (OEM ceramic) | $800 – $2,000 | $200 – $500 | $1,000 – $2,500 |
*Note: Aftermarket parts cost 50–70% less than OEM, but quality may vary.*
**Internal link opportunity:** *“Find out why OEM Rolex parts are so expensive in our article: Why Rolex Prices Stay High.”*
—
**6. Aftermarket vs. Genuine Rolex Parts**
The debate between using genuine Rolex parts versus third-party options is ongoing.
**Genuine Rolex:**
– **Pros:** Perfect fit, exact color matching, retains resale value, maintains water resistance.
– **Cons:** Expensive, difficult to source without an AD relationship, may need a Rolex “watchmaker code” for purchase.
**Aftermarket:**
– **Pros
**Can You Change a Rolex Bezel? The Complete Guide to Customization, Cost & Compatibility**
**Introduction: The Bezel as a Statement** For many Rolex enthusiasts, the watch is more than a timekeeping instrument; it’s a canvas. The bezel—the ring surrounding the crystal—is one of the most visually distinctive and functionally important parts of a Rolex. Whether you’re looking to refresh a scratched ceramic insert, swap a smooth bezel for a […]
admin ·